Zinc Frame...or is it?

Zinc is a hot "thing" right now. You're seeing zinc furniture, zinc letters, and all things zinc in home decor. It looks so cool, but it's expensive. Now, I'm going to say that as much as I love paint, I am not a fan of faux. Mainly, because it looks....well, faux. My friend, Jami from Freckled Laundry, recently painted a "zinc" dresser and did a great job, I might add. When we were e-mailing about her technique, she mentioned the possibility of using tin foil to achieve the look of zinc. I had no plans to test it out, but then, I started working on this frame.  It was part particle board, part metal...it was ugly and paint just wasn't going to fix it.  I needed to decoupage something over the frame to hide the imperfections.  I was a little tired of craft paper and sheet music, so I went for the foil to give it a go. 
...and I think it turned out pretty well.  What do you think?

Here's the technique:

Cut your pieces of tin foil to the size you want.  Crinkle it and then smooth it out.  Apply Mod Podge to the surface of your frame/furniture and apply the tin foil immediately.  Smooth out the foil and make sure it is in full contact with the surface.  Apply a second coat of Mod Podge on top of the foil and allow it to dry.  Once dry, brush on Aphaltum glaze by Valspar and blot off with a balled up dry paper towel.  Repeat this process until you've achieved the depth of color you want.  Since this is a frame, I did not apply a top coat, but you will want to apply a top coat if you're working on a piece of furniture. 
So, we'll see if it sells!
I also painted an antique ornate frame with an "oops" blue I bought from Lowe's. 
I applied the paint without a primer and rubbed off some of the blue paint to reveal the original gold.  I also used Asphaltum glaze on this frame to bring out the depth of detail. 
I know my handwriting in chalk looks like my three year old wrote it. I write like junk on a chalkboard.  I think I should just stick to drawing pictures. Maybe one of the lovely ladies coming to Lucketts can write some quotes on my chalkboards in decent handwriting. 

Both of these frames will be for sale in my booth at Lucketts.  For those of you who have asked, The Old Lucketts Fair is a craft and antique fair that is held in Lucketts, Virginia.  It is a tiny town that is an awesome antique hot spot.  The fair is August 28-29, 2010.  There will be loads of craft verndors, antiques dealers, music, food, and activities for children.  Admission is $5.00. 


Miss Mustard Seed

Just to answer a few questions.  The glaze is made by Valspar, which can be purchased at Lowes and the color I used is Asphaltum.  It's a very dark brown, but reads almost as black.  I don't think a burnt umber glaze would look as good.  Second, I used regular weight tin foil and I would be a little nervous that the heavy duty foil would be a bit too much for the Mod Podge, but who knows!

I'm sharing this on SNS at Donna's.

Hello from Berlin! More pictures from my Europe trip

The pictures below are from the beautiful Picos de Europa, in Spain. My favorite part was probably getting to take in the beautiful views alongside the cows that graze the mountain tops.


The traffic jams were caused by livestock


One of the most amazing parts of being on this mountain top valley was the chorus of cowbells you could hear all around you. The sheperd´s huts were really amazing as well!

Me just enjoying the view alongside a friendly local

Kerala villa plan and elevation - 1369 Sq. Feet

Ground Floor Area - 731 Sq Ft
First Floor Area - 638 Sq Ft
Total area of the house : 1369 Sq FT
Total cost of construction : 15 lakhs
Designer : Shukoor C Manapat

Click On Each Pic to enlarge

Kerala villa plan and elevation - 1369 Sq. Feet

Kerala villa plan and elevation - 1369 Sq. Feet - Gid=

Kerala villa plan and elevation - 1369 Sq. Feet - Fiid=
Shukoor C Manapat
Shukoor C Manapat
Lloyds
Architecture/Planning/Interiors
Second Floor
Marina Residency, YMCA Cross Raod
Calicut
Mobile # 9847981035
shukoorcm@gmail.com

Furniture Feature Friday - Link Party & Favorites!


I'll tell you, it was a very tough week to pick a few favorites.  There were a lot of projects in the running, but these were the three that stuck with me. 

Our Southern Nest painted this already beautiful Bombay chest and made it a one-of-a-kind stunner.  I love the color and finish she achieved and there are some wonderful glaze tips in this post. 

Erin from Welcome Home turned a "rustic potting bench" into a perfect vanity.  I love the warmth and age of the table against the white sink, walls, and floor. 

Kim from Savvy Southern Style transformed this custom made family piece from a dated dresser for a boy to an adorable changing table for a baby girl.  This is the ultimate in recycling and the result is lovely. 

I have to give one last nod to my girl, Katie, from On the Banks of Squaw Creek.  She was inspired by my very first upholstery job, that she jumped in on her very first upholstery job.  That very minute!  I received play-by-play e-mails and questions and it was so fun to see the end result.  She is a girl after my own heart for just diving into something she wanted to do. 

Here are the rules for this get together...
1.) Your post has to be about furniture.  Please, please, please...just furniture.  If you find your link has been deleted, it's not because I'm mean, it's because your post was not about furniture.  You can share makeovers, awesome finds, favorite pieces, furniture arrangements, or even pieces on your wish list!  Built-in furniture like kitchen cabinets and bathroom vanities qualify as furniture.  
2.) Post a permalink (the link to the post), not the link to your blog.
3.) The link party closes Friday at midnight PST and I will choose my favorite(s) and feature their project on next week's FFF.


Miss Mustard Seed

A Pair of Clogs, a Pillow, and More...

My mad dash to get things ready for Lucketts continues and will continue for a few more weeks.  I feel the lure to work on my living room, but there is too much paying work to be done. 
I had this vintage pair of clogs from my aunt, but they were a yellowish pine and not very cute.  I decided to paint them using a technique to make them look chippy and naturally worn.  There's something "telling" in distressing with a palm sander, so I wanted to try something different and I'm in love with this new technique. 
These are coming to Lucketts with me to sell.  Sigh...maybe they won't sell and I can keep them. 
I also finished this pillow for a client.  She is having me make another "Gasthaus" sign like the one I just sold right off my wall.  There's an old shelf in our basement that I am going to hack to bits and make signs out of to bring with me to Lucketts. 

Lastly, I hit one of my favorite antique stores to see if I could find any bargains that I could take with me to Lucketts. 
I bought this piece of an iron fence...
...and a small metal pulley.  Both of these pieces are interesting accessories that would look great in so many decor applications. 

Lots more to come!
Miss Mustard Seed

(Oh, and LaStarge Family, remind your daughter that I would like the other pieces to that set when she replaces them!  Thanks for leaving a comment.) 

Kerala Home plan and elevation - 3604 Sq. Ft

Location: Mongam(Near kondoty)

Ground floor- 2360.31 sq ft
First floor - 1244.29 Sq ft
Total - 3604.60 Sq ft

Bedrooms : 5 Bed rooms
Bathrooms/ Toilets: 4
Specialities: Full flat model


Designer: Riyas K.V
Kanniyath builders & developers
Manjeri.malappuram-676126
PH: +91 9562 01 04 01,8907 22 30 85

Email: kvriyas.kv@gmail.com
Kanniyath.builders@gmail.com
Kanniyath.builders@yahoo.com
Click on each image for larger view

Kerala Home plan and elevation - 3604 Sq. Ft - Elevation

Kerala Home plan and elevation - 3604 Sq. Ft - Elevation View 1
Kerala Home plan and elevation - 3604 Sq. Ft - Ground Floor
Kerala Home plan and elevation - 3604 Sq. Ft - First Floor

Safety First

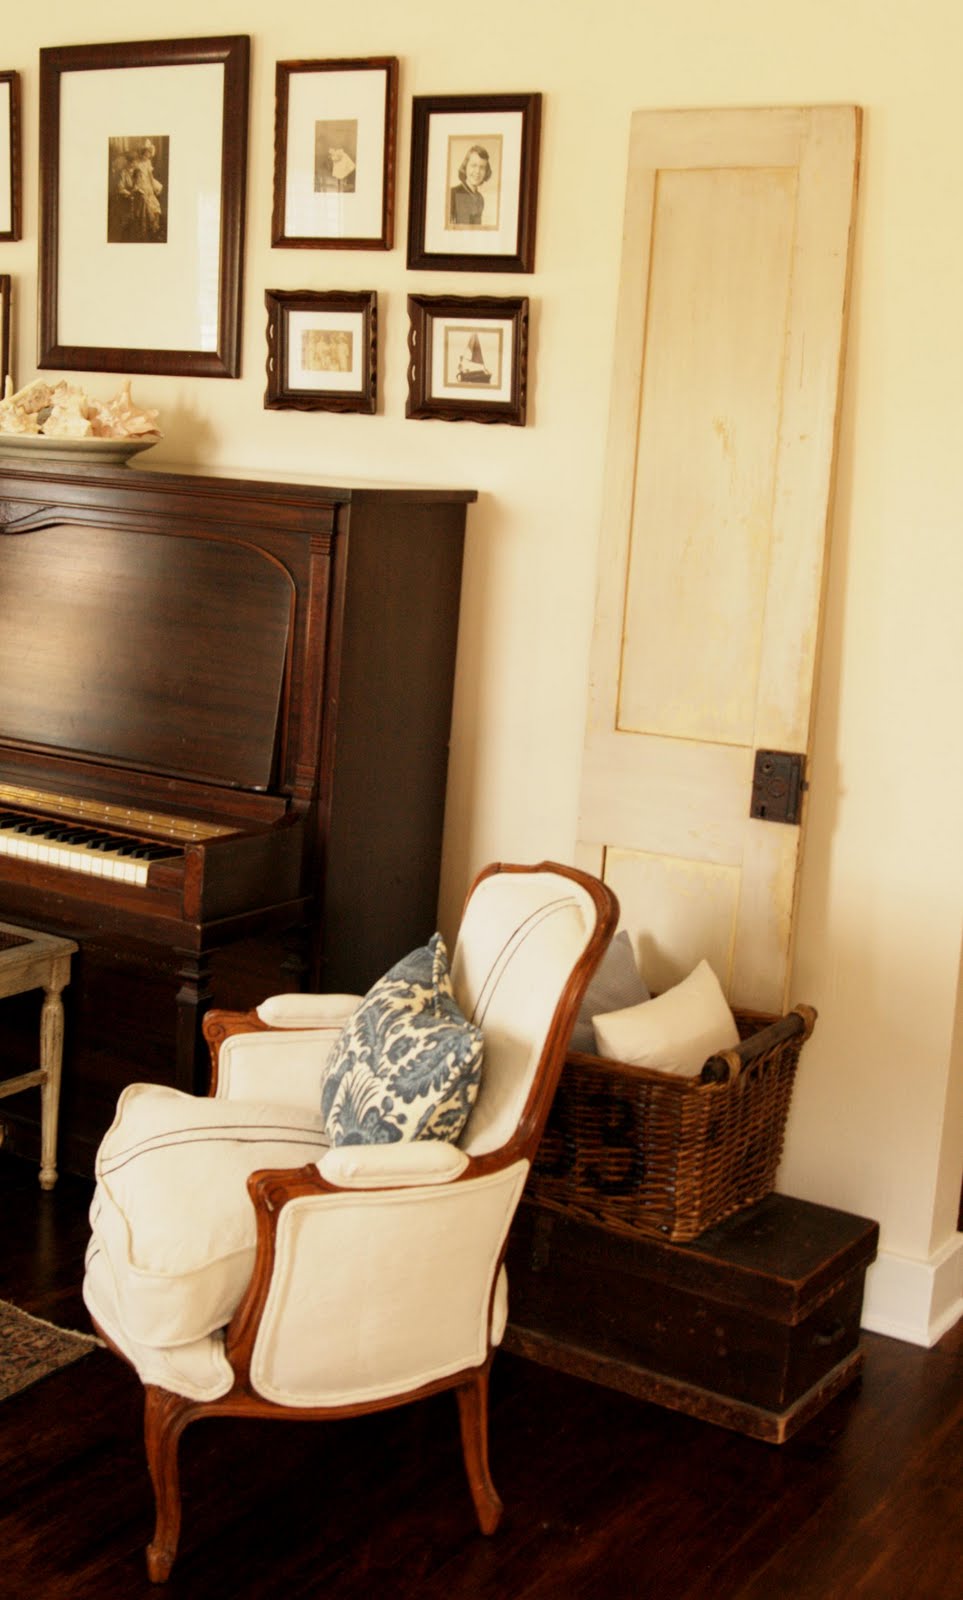
I stole bought a truckload of doors a few months ago, but they all needed to be cleaned, sanded, and sealed before I could use them in my home.  Anyone who's bought a paint can and read the label on the top knows that lead, and therefore lead paint, can be toxic.  Now, don't panic.  It's only toxic if it's inhaled or ingested, so you only need to be concerned if it's chipping, flaking, or you're messing with it.  It's also only an issue in paint that was made before 1978.  So, here's what you need to do to make them safe. 
First of all, wear the cutest respirator mask you can find.  They come in all kinds of styles and colors that will flatter any outfit, face shape and eye color.  Just kidding.  They look ridiculous on everyone, but you really need one if you're doing this kind of work.  Don't settle for a flimsy dust mask.  Get a respirator mask, which is a bit more expensive, but we're talking about your health, so get it.  You'll also want to wear one of these when you're working with stinky paints, spray paint, paint sprayers, etc.  It will really protect your lungs. 
Second, work outside or in a workshop area.  Don't do this in your living room.  It's just not smart. 

Sand the surface with your paper and method of choice.  I used a small grit sanding sponge for this door, because I wanted to retain the look of the layered paint.  Use a wet cloth to wipe off the dust and chipping paint and dispose of it in a tied off bag. 
Clean your door with a damp cloth until all of the dust and chipping paint are removed.  Allow it to dry and then seal the surface with a topcoat.  I used a water based polycrylic (to prevent yellowing) and sealed every surface, including the hardware. 
Allow it to dry and then it's safe to use.  Now, if you have kids who gnaw on your furniture, this may not be enough, but, as a rule, this will do the trick.  Keep an eye on it as the years go by to make sure it doesn't start chipping again. 

Please remember to read labels, do your research, and don't just rely on my opinion.  People have died from lead exposure and any pretty, chippy piece that you love is not worth putting people in harm's way.  Ok?  Be smart. 

Because I do work with a lot of old and chipping furniture, I do have my kids tested for lead exposure, just to be on the safe side.  If you do a lot of work like this and have small children, it's worth asking your pediatrician for their opinion. 

Does anyone have any corrections or additional safety tips they'd like to share? 

Miss Mustard Seed