Showing posts with label murals. Show all posts

It Was A Very Good Year - 2009 Recap

I started my Home Decor and Decorative Painting business, Mustard Seed Creations in November of 2008, so a lot of my firsts happened in 2009.  It was a year that exceeded expectations and I wanted to share some of my milestones with all of you. 

This year I painted my first mural for a client - at a historic home in Gettysburg, PA.  I painted a Rufus Porter style mural using their home and area barns and bridges as the subjects.

I painted my first custom piece of furniture for a client.  It was a little frightening to pick up a treasured piece of furniture and paint it for someone else.  Yikes!  It was a great success, though.


I spent my first day painting outside the shop that sells my furniture and accessories in May at the Gettysburg Antique show.  It was a great sales day for my business and the shop. 

I was a vendor at The Old Lucketts' Fair in Lucketts Virginia last August.  It was a huge day for me and my painted furniture sold very well, in addition to my antique finds.


In October, the shop moved to a larger and better retail space in downtown Gettysburg.  The owner gave me a lot of liberty to design and paint the shop in a way that I thought would look good.  It was a lot of work and a big responsibility, but worth it.  This business partnership has been an amazing one and has blossomed into a friendship over the year.

I painted my first themed children's mural this October.  It was a Star Wars mural that really stretched my ability.

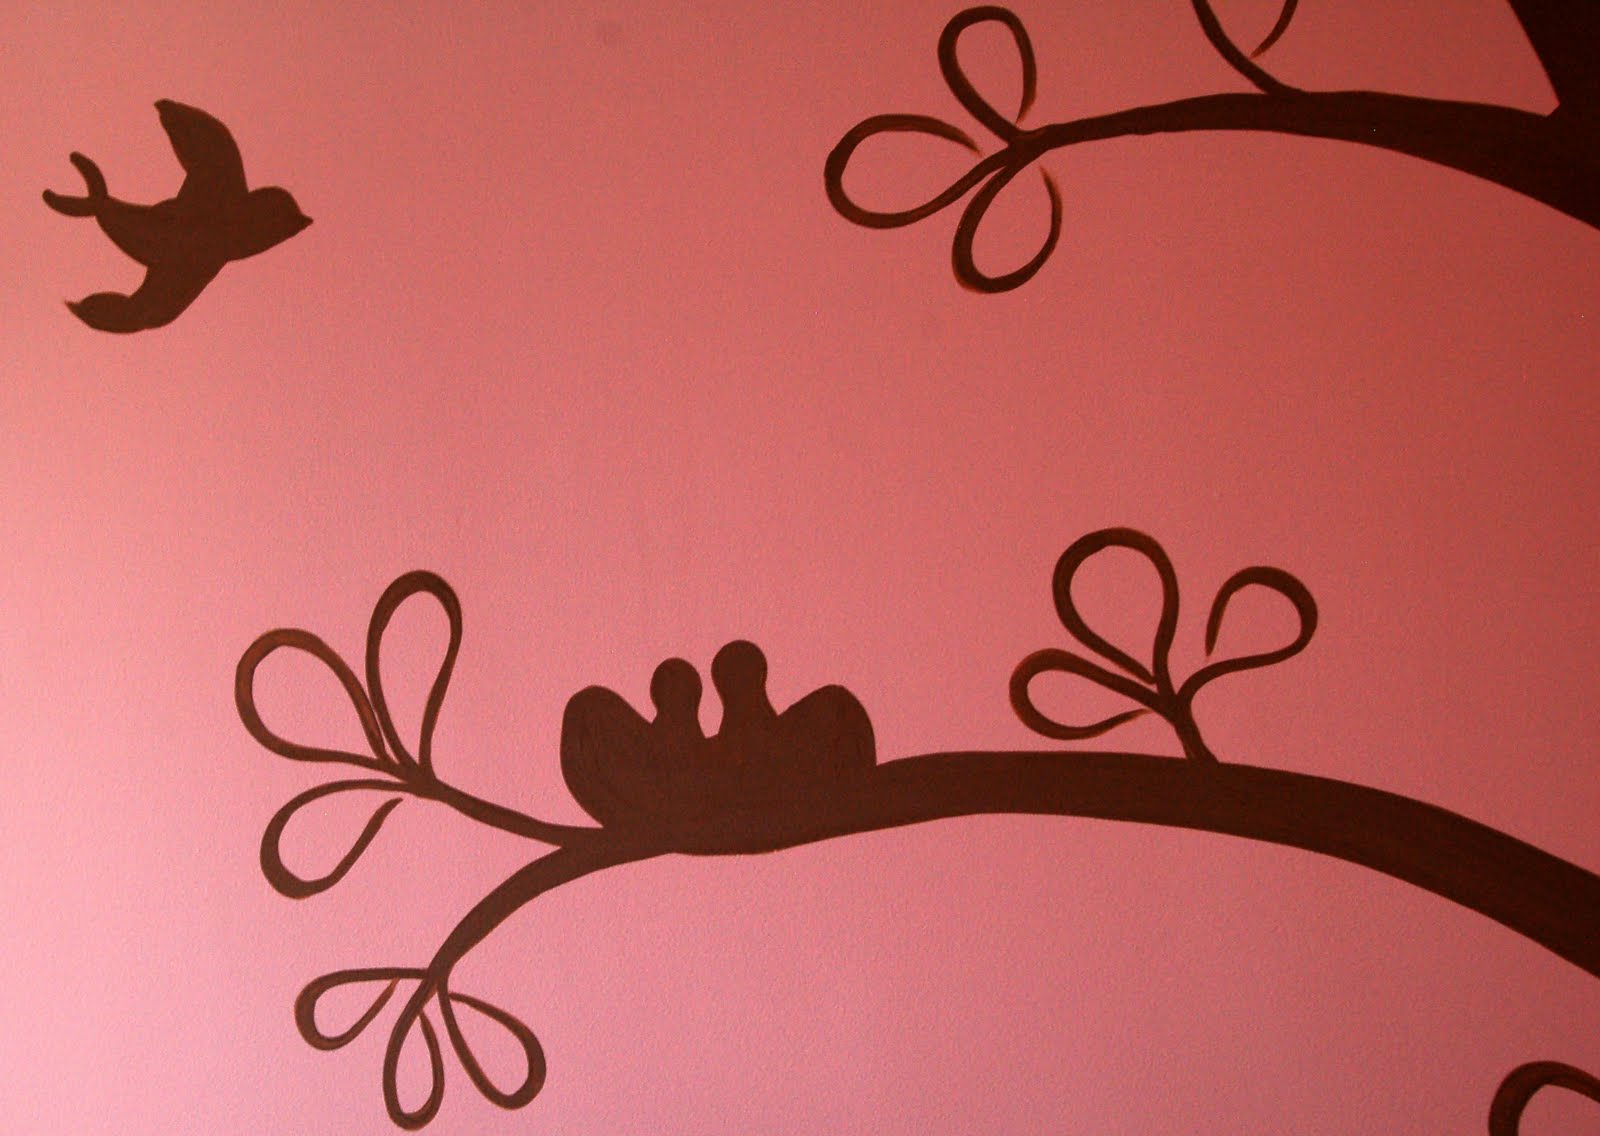
I also did my first nursery mural for a client.  I fell in love with this Pottery Barn inspired mural in pink and brown.

The other big event was starting this blog. I have been challenged and inspired by the blog world.  As the icing on the cake, I've found some great friends in all of you!  I already have big plans for 2010, including an announcement about a collaboration with a fellow blogger, the opening of an Etsy store, and a basement full of furniture that needs my help.  I can't wait to share it all with you.

Make sure you visit tomorrow to share your favorite furniture posts at my New Year's Day Furniture Feature Friday link party.  You can share any furniture related posts from the past year, so join in!

Miss Mustard Seed

PB Inspired Nursery Mural Revealed

Well, I finally have an explanation for why I've been feeling poorly for about a month. I have a sinus infection and bronchitis! So, I'm now on the antibiotics & codeine and should be feeling much better in a couple of days. I was in the spray booth today, anyway, and have a lot of fun things in the works. But first, I have been promising pictures of the Pottery Barn inspired mural that I completed over a week ago and I am now coming good on that promise.
I absolutely love how it turned out and it makes me wish I had a little girl, so I could do this in my own home. My client is currently pregnant with her third baby (a bit of a surprise) and she wanted to do something feminine and simple in the nursery. She knew she wanted pink & brown, but beyond that she really wasn't sure. I sent her some inspiration pictures and she chose a mural from the Pottery Barn Baby + Kids catalog.
This mural is very graphic, but sweet and classic at the same time. I love the mother bird flying to her babies perched in the nest and the whimsical style of the tree & leaves.

Once I started painting, I realized I should have made the nest slightly larger in order to fit three babies in there (one for each of her children), but it was too late to change it.

If there's a new or soon-to-be mom out there who is in love with this, it was a very simple mural. Especially for someone who's comfortable with a brush. The tree is very basic and the leaves are just a tear drop shape. If you lack confidence that your bird will...well, look like a bird, you could use a stencil or an image and transfer paper. Give it a try! This is a high-impact mural that is in a very forgiving style.
On the wall above where the crib will be, I added her name flanked by two more birds.
My client chose this font out of MS Word and I freehanded it on the wall. I just marked a level and plum line with a pencil to make sure everything was straight and centered. (Let's hope Abigail doesn't turn out to be a boy! That does happen on a rare occasion. )

I'm sorry these pictures don't include the full view of the room and how the mural looks with everything in place, but currently the room is full of gift bags, diapers, little dresses with the tags on, fuzzy blankets, a changing table, a rocking chair, and... ...a diaper cake. Such a cute gift.

I noticed this little stuffed animal and I thought a pink camel was a weird gift for a baby girl. My client pointed it out and said it was from Abigail's dad, who is currently serving in Afghanistan. He bought it for her over there. Such a special gift that I am sure will be treasured.

I promise I'll take pictures when the room is finished. I just couldn't wait any longer to share the mural.

*Make sure you enter my Frog Tape Giveaway that is open through November 30!
Miss Mustard Seed
I posted this to Saturday Night Special at Funky Junk Interiors , Show Some Creativity Saturday at Encouragement is Contagious , DIY Day at A Soft Place to Land and It's So Very Creative at It's So Very Cheri.href="http://itssoverycheri.blogspot.com/">

Painting a Harlequin Pattern

For the back room of our shop, we decided to go with a pink and brown fanciful harlequin pattern. This is actually a simple (though tedious) wall treatment and such a fun one for a little girl's bedroom. (Hang with me on the pictures, here. They were taken in flourescent lighting, ick.) So, I'm going to share how I did this. The boring part of this project is the measuring. Who knew I would have to use geometry as a decorative artist! The center point of my harlequin pattern was 18" and I chose 20" as a width. This was just a width that was pleasing to my eye. So, I measured 18" up and 20" over. On the top and bottom, I measured 10" over. I then connected the dots to make the diamond. From the top & bottom points, I measured 20" over and from the center point, I measured 20" over and 18" up. I went around the room this way, making adustments when I came to a corner. Sometimes I would wrap the diamond around the corner and sometimes I would strech or smush the diamond order to make it fit. You can do this as long as it still looks right to the eye.
I used my brush to freehand the diamonds, following the marks I had measured out. For a more sophisticated look, I would've taped this off to have straight and clean lines. I wanted this to look loose and "illustrative", so I did it by hand.
I would then start to fill in the diamonds, keeping the paint heavier towards the edges.
I had a cup of water on hand to dip my brush into in order to blend and soften the paint as I moved toward the center.
Just watch for drips and keep working the paint to blend it in.
The border running around the top of the room was just random swirls and scrolls.
Once the white was dry, I added some brown outline to highlight the scrolls, frame the harlequin and add a fleur de lis detail.
My husband came in at one point and asked if I meant for these lines to be straight. When I answered that they are exactly as I wanted them to be he said, "Well, if you want them to be crooked then it looks great." Gotta love that man of mine.
I wanted this finish to feel like the hand drawn background of a children's book. I described it as "illustrative" and I think I achieved that. Taping everything off to make crisp, perfect lines was just not right for this look.
I know this wasn't a comprehensive tutorial. I had a lot of work to do and stopping to take pictures at every step just didn't happen.


I also completed my Pottery Barn inspired mural and I brought my camera and...it didn't have a memory card in it! Ah! I even tried to bum one off of my client (who is a friend as well), but she didn't have one. So, I'm going to go once the nursery is set up and get pictures for you. I love how it turned out and I can't wait to share it.
Miss Mustard Seed

Awesome treatments for your walls

Don't want to hang art or wallpaper, but just a coat of paint too boring for you? Well, Jill recently introduced me to her unique take on walls and I was impressed. She is also a talented interior designer. Check out her graphic murals...

Of her process, she says:
"The murals started a number of years ago when I had a short-term loft rental in Tribeca (NYC). I had these massive white walls and didn't want to spend a fortune on art since I'd be moving out in 6 months, so I painted the murals directly on the walls. Then other people started wanting them, too. All of my murals are painted, but there are different techniques. The geometric ones like the yellow octagons I work out in Autocad first to get the dimensions and spacing just right; then I use a laser level to tape it off. It can take days to do the taping for one of these, but then the paint just gets rolled on so that part happens pretty quickly. For the figural ones like the birds in trees, I work out the design on paper or in the computer in small scale first, then project it onto the wall and trace with a pencil. Then I hand paint all the outlines and fill them in, often needing 4 coats of paint to get the nice crisp opaque look I like---these are the most labor-intensive of the murals. I'm currently working up wallpaper designs based on the murals, which will be available on www.wallpaperstogo.com sometime in the next few months."

I think her murals are really tasteful, and are simple enough you wouldn't get tired of looking at them after awhile.


I think I'd pick this one - maybe in a high gloss cool gray over the same color in matte.
Which is your fav?

Go to Jill Crawford's website to see more!

Some of her interior design: